
Sunday, February 27, 2011
Maddie made a hat.
After I made a hat for Mason, Maddie decided that she needed to make a hat of her own. She worked diligently for hours and burned through an entire roll of tape, but the results were cute. It looks a bit like a chef's hat and has a butterfly on the front.

Saturday, February 26, 2011
A "Cat in the Hat" hat for Dr. Suess' birthday
Making a hat


My son's school is celebrating Dr. Suess' 107th birthday on Monday. The parents were asked to make something Suessian for the kids to wear to school. Being an over-achiever I decided to make a red and white striped hat. This is actually not the first hat I've made, but I am amazed at how well it came out.

It started with 3 pieces of red felt and 4 pieces of white. I edged stitched along the short side two pieces of red and two pieces of white for the stripes. Mason's head is 20 1/2" around so I needed 21 1/2" with seam allowances. I also edge stitched two pieces of white along the long edge to use for the brim.
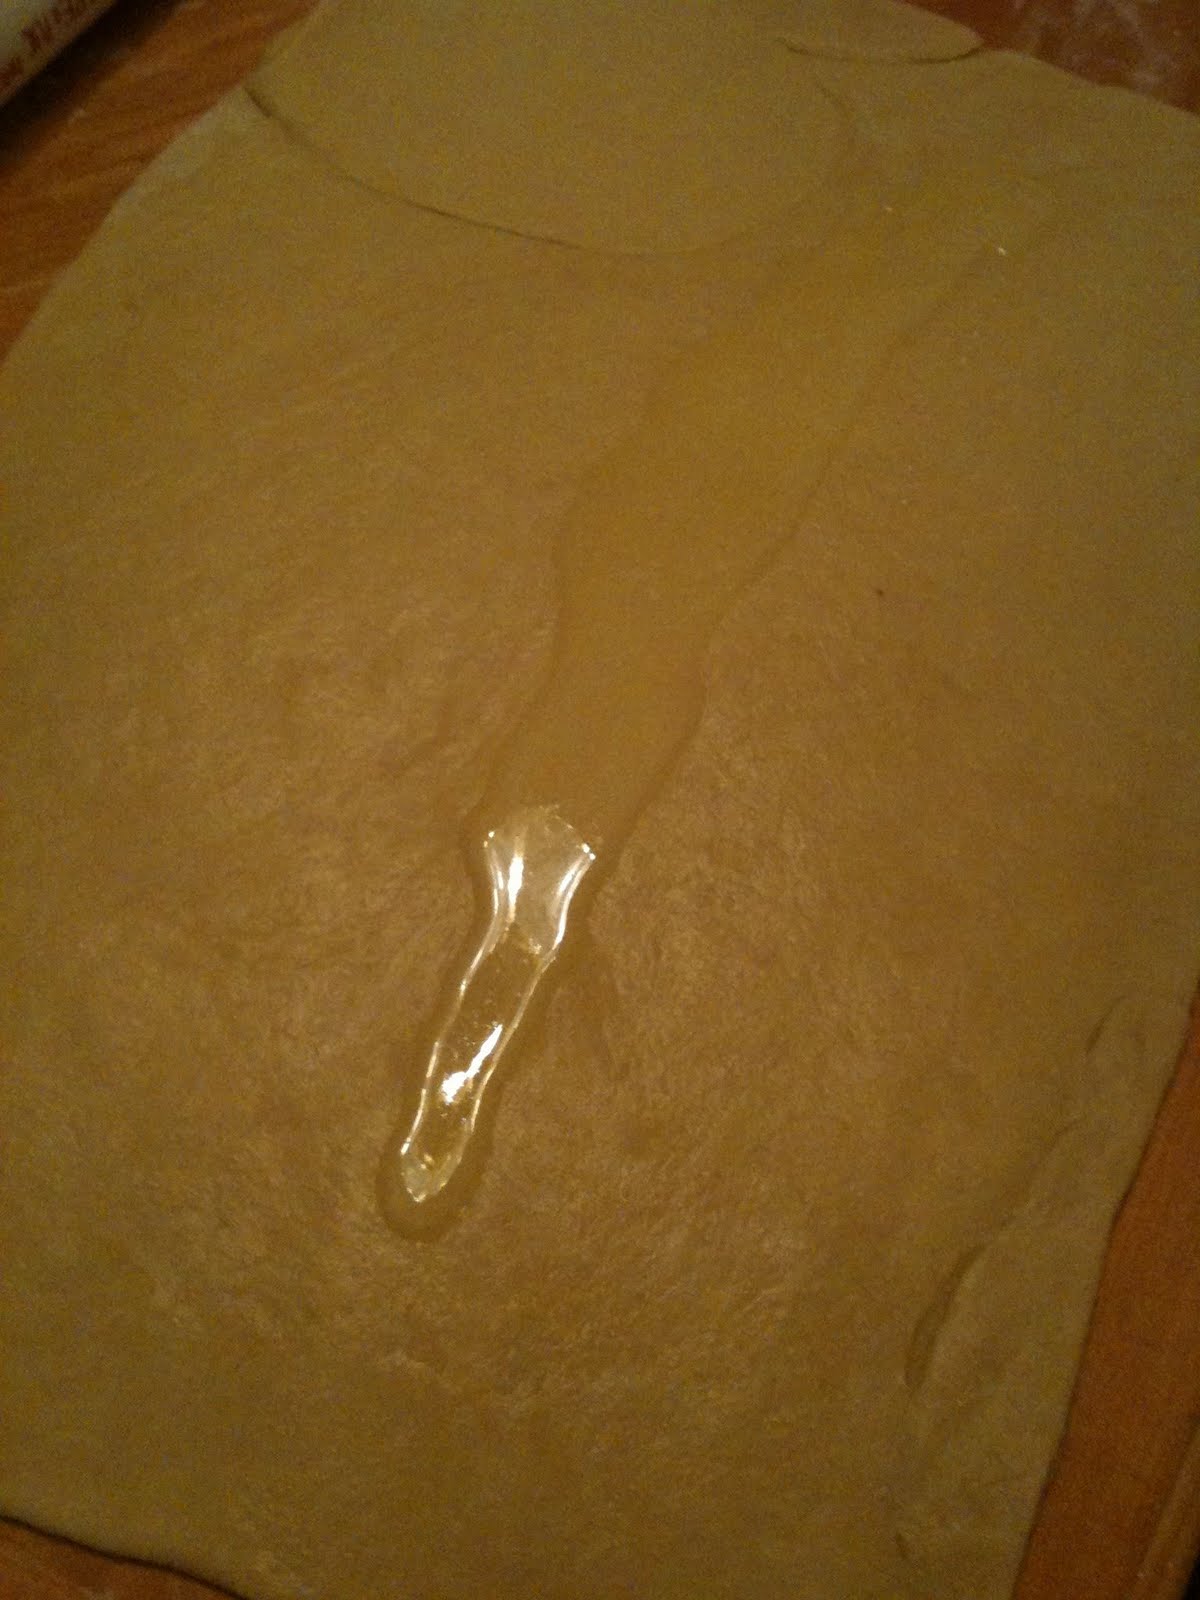
Edge stitching:


I cut two 3" x 21 1/2" strips of white felt and 1 of red felt. The other red felt strip was more of a art than measurement. I sewed them wrong sides out and then flipped them over and satin stitched them from the outside. This was mostly to give the hat a little structural integrity, but it also looks good.
Satin stitching:

I didn't get a picture of the top red strip and I wish I had. It was 21 1/2" across the bottom, 24" across the top, 3" tall at the center and 4 1/2" tall at each end.
After stitching that together, I sewed the opposite seam of the hat making it a tube. I flipped it over and shaped the top edge the way I wanted it and traced and cut a piece for the top.
Top piece:


I sewed the top and the brim on (sorry, no pictures) and then trimmed the brim, freehand, flipped it over and sewed a bead around the edge of the brim.
Finished hat:


Monday, February 21, 2011
First batch of the year
I just brewed my first batch of the year. It's another round of Farmhouse Ale. I'm not kidding when I say I love this beer!
Sunday, February 20, 2011
Cinnamon Rolls - Feb 21 is National Sticky Bun Day!

Ingredients
Dough:
- 4 large egg yolks, room temperature
- 1 large whole egg, room temperature
- 2 ounces sugar, approximately 1/4 cup
- 3 ounces unsalted butter, melted, approximately 6 tablespoons
- 6 ounces buttermilk, room temperature
- 20 ounces all-purpose flour, approximately 4 cups, plus additional for dusting
- 1 package instant dry yeast, approximately 2 1/4 teaspoons
- 1 1/4 teaspoons kosher salt
- Vegetable oil
Filling:
- 8 ounces light brown sugar, approximately 1 cup packed
- 1 tablespoon ground cinnamon
- 1 teaspoon ground ginger (Shhh... Don't tell anyone)
- Pinch salt
- 3/4-ounce unsalted butter, melted, approximately 1 1/2 tablespoons
Icing:
- 2 1/2 ounces cream cheese, softened, approximately 1/4 cup
- 3 tablespoons milk
- 5 1/2 ounces powdered sugar, approximately 1 1/2 cups
Making The Dough:
The wet stuff:
I used leftover whey (4 oz) from the ricotta I made earlier today and heavy cream (2 oz) instead of buttermilk, 4 yolks, 1 whole egg and 6 Tbsp of melted butter

Dry Stuff:
Yeast and salt

20 oz flour (by weight) & 2 oz sugar


Eggs, butter, sugar and dairy before:

Eggs, butter, sugar and dairy after:

Added the dry goods:
About half the flour, the salt and the yeast. Whipped into a batter


Mixed in the balance of the flour and ready to rise:


The Filling:
Filling:mixed the light brown-sugar with the cinnamon, salt and ginger using a fork.

Rolling out the dough:
Ready to roll:

Rolling out:
Roughly 18" x 24"

Buttering:
Adding the filling:


Rolled up:

Cut:

Ready to chill:

Baking:
Put the rolls into the oven for 30 minutes to proof. Place them on the top rack and place a pan filled with boiling water on the rack below. This makes a bit of a sauna for the yeast to wake up and enjoy. We should treat them nicely like this since were about to murder them.

Looking a bit puffy from the second rise:


The Icing:
A simple matter of whisking together 2.5 oz of softened cream-cheese, 5.5 oz of sifted powdered sugar and 3 tablespoons of milk until it looks like icing.


Saturday, February 12, 2011
Making a maker.
Making my daughter into a maker.
Maddie wanted to do something special for her class for Valentine's day. I suggested making candies. Just pouring chocolate into molds was a little mundane for me. After all, with a moniker like "Maker and Fixer of Things," I had to go the extra mile. I knew we'd be make something cool, but what I didn't expect was to make a maker.
We started with a lump of scrap polymer clay and a foam heart as a guide.


Then I helped her a little to add an embellishment she made.

The finished form, after baking. I had to add a little clay to the bottom to flare it out so that when we made molds the finished candies would be easy to unmold.

Next the original art went onto the vacu-former and we pulled four molds by heating plastic from gallon water jugs until they were nearly transparent and then placing them over the vacu-former and Maddie turned on the vacuum. It takes less than a second to suck the air out, cool and harden the mold.


I melted some white (pink and red) chocolate Witman's candy melts and let Maddie fill the molds.


The first batch and the rest! Now we just need to wrap them in foil.


A red heart still in the mold.

She was so excited to make something from scratch that she can share with her friends. I was very happy to see the excitement and energy in her eyes. So of course, Mason had to get in on the action too. :-)

Subscribe to:
Comments (Atom)